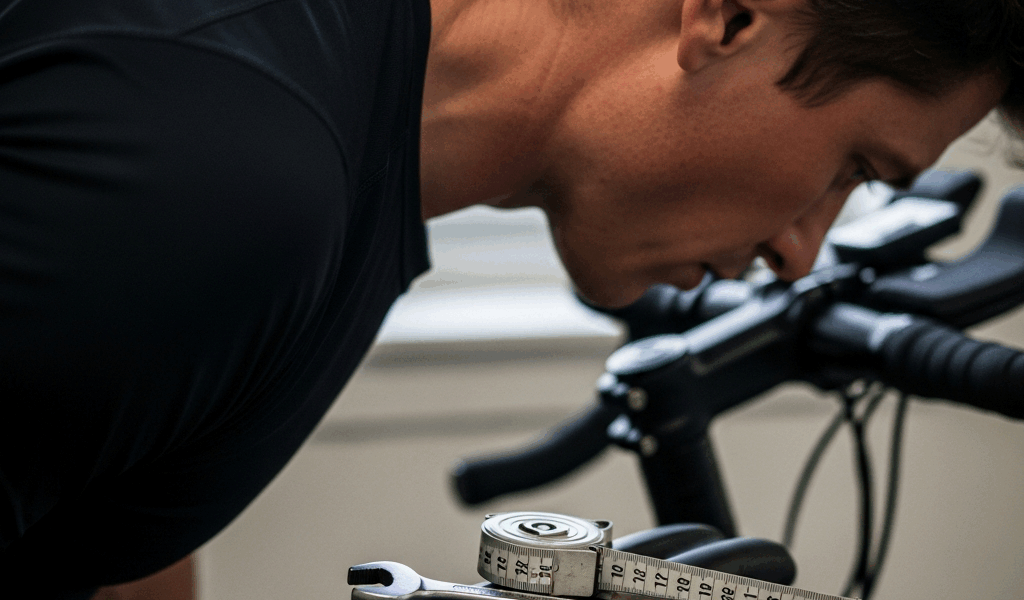
Signs that your bike’s handlebar position may be wrong include persistent hand pressure, numb fingers, locked elbows, shoulder tension, difficulty looking ahead, or feeling excessively stretched or cramped. These symptoms do not diagnose handlebar height by themselves: reach, saddle position, bar shape, controls, riding style, injuries and bike size all interact.
Make one small, reversible change at a time and test it over several normal rides. If you have carbon parts, an integrated cockpit, an unusually short steerer tube or any uncertainty about the headset, use the bicycle or component manufacturer’s instructions—or ask a qualified mechanic. A loose or incorrectly assembled stem can cause loss of steering control.
Quick diagnosis: too low, too high, too far or too close?
| What you notice | Possible fit cause | What else to check |
|---|---|---|
| Heavy pressure on hands, difficulty looking forward, very low torso | Bars may be too low or too far away | Saddle tilt/fore-aft, reach, brake-hood position |
| Locked elbows or shoulders pulled forward | Reach may be too long | Stem length, frame size, bar reach |
| Cramped arms, knees close to bars, vague front-wheel feel | Bars may be too high or too close | Stem length/angle and frame size |
| Numbness in particular fingers | Hand pressure or wrist angle may contribute | Gloves, grip position, bar width and medical causes |
| Neck, shoulder or back pain | Bar position may contribute | Saddle height, mobility, workload and injury |
Higher bars generally produce a more upright torso and often reduce the amount of body weight supported by the hands. Lower bars usually create a more forward and aerodynamic posture, but require enough mobility and core support to remain comfortable. That is why the same saddle-to-bar difference is not right for every rider.
There is no universal correct handlebar height
Do not use a fixed rule such as “the bar must be one inch below the saddle.” A relaxed city bike may place the grips above the saddle. A touring or gravel bike may put them near saddle height. A road-racing setup may use a noticeable drop. Body proportions, flexibility, injury history and the positions available on the handlebar matter more than copying another bicycle.
Measure your current setup before touching it. Record the vertical difference between the saddle and the normal hand position, photograph the spacer order, and mark the stem’s alignment with removable tape. Those notes provide a safe baseline if the change makes the bike worse.
Safe checks before changing anything
- Confirm the saddle is reasonably set first. A badly tilted, very high or overly forward saddle can push weight onto the hands and mimic a handlebar problem. See our guide to signs that a bike saddle is too high or too low.
- Read the torque values printed on the stem, handlebar and manufacturer documentation. Do not substitute a generic number.
- Inspect for cracks, corrosion, crushed carbon, missing spacers or a steerer tube that sits too far below the top of the stem.
- Do not change stem position if brake hoses or control cables become tight when the handlebar turns fully left and right.
- Do not modify or extend a fork steerer tube. If there is insufficient adjustment range, use a compatible stem or handlebar selected by a mechanic.
Threadless stem: what actually controls the height
Most modern sport bikes use a threadless headset. The stem clamps around the fork steerer, and spacers may sit above or below it. You can lower the stem by moving an approved spacer from below the stem to above it. You can raise it only when there is already enough usable steerer and an approved spacer below the stem that can be moved above.
The top cap does not hold the stem against steering forces. Its job is to preload the headset bearings before the stem’s steerer-clamp bolts are tightened. It should never be treated as a generic “5 Nm” fastener: the correct adjustment is the minimum preload that removes play while allowing the fork to turn smoothly, subject to the manufacturer’s procedure.
Conservative threadless adjustment sequence
- Support the bicycle securely and note the existing spacer order and handlebar alignment.
- Loosen the stem’s steerer-clamp bolts. These are at the rear or side of the stem where it surrounds the fork steerer. Do not loosen the handlebar faceplate merely to change stem height.
- Remove the top-cap bolt and top cap while supporting the fork so it cannot drop from the frame.
- Lift off the stem and rearrange only compatible spacers. Preserve any spacer above the stem and maximum-stack requirements specified by the fork or stem maker.
- Reinstall the top cap and apply only enough preload to eliminate headset play without making steering bind.
- Align the stem with the front wheel, then tighten the steerer-clamp bolts evenly to the exact marked or documented torque.
- Apply the front brake and rock the bike back and forth. Play felt at the headset means the adjustment is not complete. Then lift the front wheel and ensure steering remains smooth from side to side.
There must be enough relationship between the steerer, stem and any upper spacer for the top cap to preload the bearings and for the stem to clamp safely. Requirements vary among forks and stems, particularly with carbon steerers. Stop if the existing assembly does not match its manual.
Threaded or quill stem adjustment
Older road, hybrid and city bikes often use a quill stem that slides inside a threaded fork steerer. Its upper bolt operates an internal expander. Loosen that bolt a few turns; if the wedge remains stuck, the manufacturer’s procedure may call for a light tap on the bolt to release it. Do not pull or twist aggressively against attached cables.
A quill stem has a minimum-insertion mark. That mark must remain fully hidden inside the steerer. Raising the stem beyond it reduces support and can lead to failure. Once the position is set, align the stem with the front wheel and tighten the expander bolt to the stem maker’s specification. Check that the stem cannot twist independently of the wheel.
What if the bars cannot safely move higher?
If a threadless stem has no spacers below it, there may be no safe upward adjustment available with the existing parts. Options can include a compatible stem with a different angle, a riser handlebar, or—on some systems—an approved extender. Compatibility involves steerer diameter, handlebar clamp diameter, material, cable length and the bicycle maker’s limits. A shop should assess this rather than improvising with extra spacers above the available steerer.
If the bike remains drastically too long, short or low even after normal adjustments, frame size or geometry may be the underlying problem. Our road-bike sizing guide explains why nominal frame size is only a starting point.
Test the change safely
- Change height in small increments—often 5 mm when the spacer system permits it.
- Perform the headset play, steering and stem-alignment checks before riding.
- Begin in a traffic-free area and test braking, standing pedaling and full steering movement.
- Ride the setup several times before making another change, unless it causes pain or feels unsafe.
- Recheck all relevant bolts at the interval specified by the manufacturer.
Stop riding and seek mechanical help if the handlebar or stem slips, rotates, creaks after adjustment, shows damage, or cannot be torqued correctly. Persistent numbness, weakness or pain also deserves assessment by a qualified healthcare professional; bike fit is not a substitute for medical diagnosis.
Frequently asked questions
Do high handlebars cause hand numbness?
Not usually by simply placing more weight on the hands; raising the bars often reduces forward hand load. Numbness can still occur because of wrist angle, reach, grip pressure, bar shape, vibration or a medical condition.
Should handlebars be level with the saddle?
They can be, especially for comfort-focused riding, but it is not a universal target. The correct relationship depends on bike type, fit, flexibility and intended use.
Can I add more spacers under a threadless stem?
Only if sufficient steerer length remains and the fork, headset and stem manufacturers allow the resulting arrangement. Spacers cannot safely create steerer length that is not there.
Which bolts do I loosen to change a threadless stem’s height?
The steerer-clamp bolts and top cap are involved. The handlebar faceplate bolts are not part of a simple spacer rearrangement. Follow the exact component manual because integrated and proprietary systems differ.
Technical references
Safety and availability reviewed in August 2026.




Stay in the loop
Get the latest safe cycling zone updates delivered to your inbox.