Why Weak Brakes Are a Danger You Cannot Ignore
Bike brakes have started getting harder to follow with all the conflicting advice flying around — “just adjust the cable,” “it’s probably the pads,” “you need a full bleed.” I taught myself the working side of weak stopping power the hard way. Two weeks of ignoring a soft lever, one steep downhill on Ridgecrest Avenue, and I nearly put myself through the rear window of a parked Subaru Outback. Today, I will share it all with you.
Weak stopping power kills reaction time. Full stop. It turns an avoidable near-miss into a hospital visit — and that gap between “almost” and “actually” is about 2 meters of stopping distance you no longer have. Whether you’re running rim brakes or hydraulic discs, the fix is usually simple. This article goes through the most likely culprits first so you stop wasting time on guesswork.
Check These Things on Rim Brakes First
Worn or Glazed Brake Pads
Brake pads wear down. That’s just physics. After roughly 500 to 1,500 km — depending on whether you’re riding wet gravel or dry pavement — they lose grip. Glazing is a different problem. Overheating hardens the pad surface and seals it smooth, dropping friction to almost nothing. Look at your pads from the side of the wheel. You want at least 2 mm of rubber left. Shiny surface, slick feel, or anything under 1 mm? That’s your culprit.
Replace them. Kool-Stop Dual Compound pads run about $18 a set and take maybe 10 minutes to swap with a 5 mm Allen wrench. Don’t do what I did of riding another week on glazed pads because “they seemed fine on flat ground.”
Cable Stretch
Steel brake cables stretch — especially after wet rides. The lever starts traveling closer to the handlebar before the pads even make contact. Spongy feel, longer pull, less confidence. Pull the brake lever and watch how far it moves before resistance actually kicks in. Engagement should happen within 10 to 15 mm of lever travel. Much more than that and your cable has gone slack.
Fix: loosen the cable anchor bolt on the caliper, pull the cable tight by hand, retighten. A 5 mm Allen usually handles this. Don’t over-tighten — the brake will drag constantly and you’ll wear pads faster than you can replace them.
Pad Misalignment
Rims bend. When they do, pad contact becomes uneven — one pad might be kissing the rim while the other sits 3 mm out in space. You’ve effectively cut your stopping power in half without realizing it. Spin the wheel slowly and watch. Uneven gaps between pads and rim on each side tell the story immediately.
Loosen the caliper’s mounting bolts slightly, center it by hand, retighten. Some brakes have a barrel adjuster — counterclockwise pulls the pads inward. While the bike is still on the ground, grab the wheel rim and wiggle it side to side. Visible wobble usually means a bent rim, and no amount of pad adjustment will fully fix that.
Check These Things on Disc Brakes First
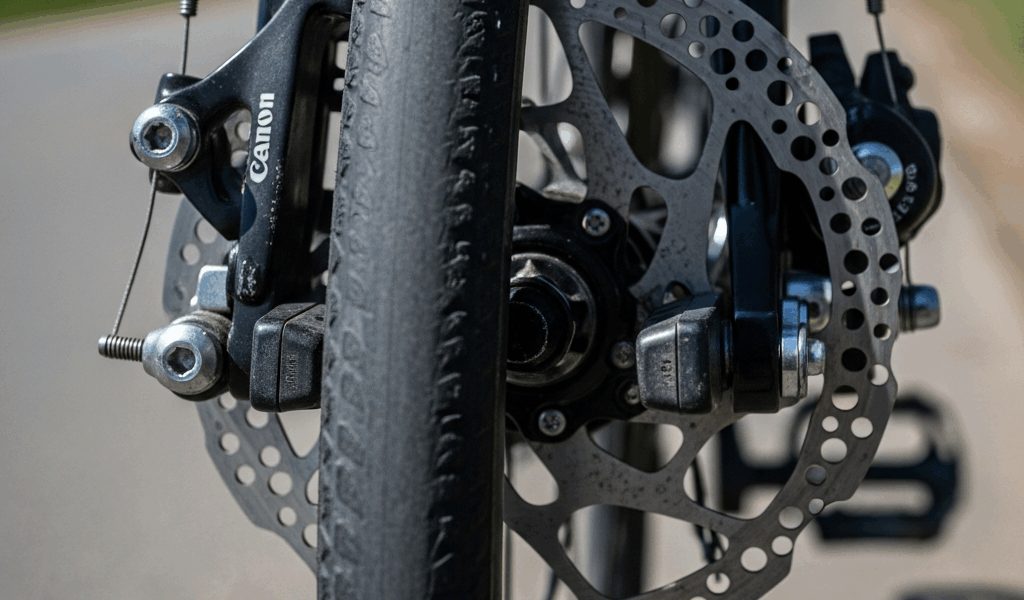
Contaminated Rotors or Pads
Oil, dirt, brake fluid on a rotor — stopping power gone, immediately. But what is contamination, really? In essence, it’s a foreign substance bonding to your braking surface. But it’s much more than just “dirty brakes.” Contamination creates an inconsistent feel — grabbing hard in one spot, releasing abruptly in another. Completely different from air in the lines.
I’m apparently someone who gestures too enthusiastically while lubricating a chain, and Muc-Off spray works for me while aerosol silicone lubricant never ends well near my rotors. One accidental mist on a Shimano RT-MT800 rotor and I was replacing $35 worth of pads the next afternoon. Use isopropyl alcohol on a clean rag. Wipe the rotor thoroughly. If pads absorbed contamination, replace them — cleaning rarely saves contaminated sintered pads. Rotors run $20 to $50; pads $15 to $40.
Air in Hydraulic Lines
Spongy lever that doesn’t improve with any amount of adjustment? Air in the hydraulic line. The lever travels almost to the bar before braking happens — mushy throughout, not grabby. That’s the key difference from contamination. Contamination feels unpredictable. Air feels consistently terrible.
Fixing this means bleeding — pushing fresh fluid through to purge the bubbles. Basic bleed kits like the Shimano TL-BT03-S run about $25 online. First bleed ever? Probably worth the $40 to $80 a shop charges per brake. Most mechanics recommend bleeding once a year regardless, honestly. Probably should have mentioned that earlier in this section.
Glazed Disc Brake Pads
Disc pads glaze the same way rim pads do — heat polishes the surface flat. Replacement isn’t always necessary. Try brake bedding first: 15 to 20 moderate stops from 20 km/h, letting pads cool between each one. That reheats the contact surface and restores bite. If bedding doesn’t work after two full sessions, the pads are done. New sets for most disc systems run $25 to $60 — Shimano M315 pads are around $28 at most shops.
Cable or Housing Wear (Mechanical Disc Brakes)
Mechanical disc brakes use cables instead of hydraulic fluid. Frayed cables or kinked housing reduce stopping power exactly the same way cable stretch does on rim brakes. Inspect the full run from lever to caliper — smooth and uniform, no kinks, no splits, no exposed wire strands. Dented housing or frayed cable means replace both at once. A full Jagwire Pro cable and housing set costs $20 to $35 and takes about 45 minutes to install cleanly.
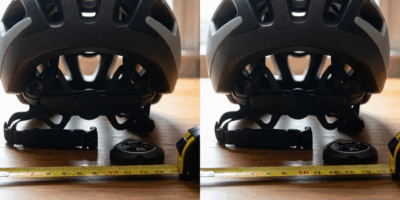
Quick Test to Know If Your Brakes Are Truly Fixed
Before you ride back into traffic, test in an empty parking lot. Find a flat 50-meter section — nothing in the way. Ride at a steady 20 km/h and squeeze the brake lever firmly. Controlled pressure, not panic-grab. Good brakes stop you in 4 to 6 meters. The lever should feel solid throughout — not spongy, not vague. No squealing unless pads are genuinely worn to metal.
Do this three times. Each stop should feel identical. First stop strong, second stop weaker? Your brakes are overheating — usually wrong pad compound for your riding style, or a surface still contaminated under the first layer. All three stops consistent and confident? You’re ready. That’s the only test that actually matters.
When to Take Your Bike to a Shop Instead
Know your limits. Some problems genuinely need a mechanic — at least if you want to walk away from this with working brakes and your dignity intact.
- Spongy hydraulic levers that don’t improve after bleeding — internal seal failure needs professional diagnosis, not more bleeding
- Cracked or visibly warped rotors wobbling during the wheel spin test
- Cables that won’t pull smoothly despite being new — housing routing or frame damage
- Stuck caliper pistons that won’t retract, leaving the brake dragging under load
- Brake fluid that’s dark brown or black instead of clear or light amber — contaminated fluid needs a full system flush, not a top-off
A professional brake tune-up runs $50 to $100 and takes about 30 minutes. Worth every dollar if you’re not confident the fix actually worked. Weak brakes aren’t a DIY pride moment — they’re a hard safety line. That’s what makes getting this right so important to every rider who shares road space with other people.


Stay in the loop
Get the latest safe cycling zone updates delivered to your inbox.