Why Your Chain Skips and When It Happens
Chain skipping has changed quite a bit thanks to the conflicting advice flying around — “replace the cassette,” “buy a new drivetrain,” “take it to a shop.” But most of the time? It’s none of that. And I say this as someone who once spent $140 on a new Shimano cassette when a quarter-turn on the barrel adjuster would have solved everything. That was a painful Tuesday.
But what is chain skip, exactly? In essence, it’s the chain failing to seat properly on the cog teeth under load. But it’s much more than that. It’s a symptom — one that points to three very different causes depending on when and how it happens.
Pay attention to the pattern. Skipping only when you’re hammering in one specific gear? That’s typically cable tension or a single worn tooth. Skipping randomly across several gears? Stretched chain. Only in the smallest cog? Could be front chainring wear or indexing. The pattern tells you where to look before you touch a single wrench.
That’s what makes systematic diagnosis endearing to us home mechanics — you don’t need expensive equipment. You need observation. The chain loses contact with the teeth under load because something has shifted the geometry: worn metal, slack cable, or a pitch mismatch between chain and cog. Figure out which one first. That’s it. That’s the whole job.
So, without further ado, let’s dive in.
Check Your Chain Wear First
Start here. Seriously. A stretched chain quietly destroys cassette teeth — every pedal stroke grinds the wear pattern deeper. Replacing cable tension or even a fresh cassette won’t stop skipping long-term if the chain is already gone.
Quick note before the rest of this.
You’ve got two ways to check. The cleaner method uses a chain wear indicator — Park Tool’s CC-3.2 runs about $14 on most sites, and Feedback Sports makes a similar one for around $12. Slide it onto a chain pin, press down. If it seats fully at the 0.75 mark, you’re done. New chain time.
The ruler method works fine too. Lay a tape measure along the chain pins and find the center of one pin. Count out exactly 24 inches to another pin center. If that measurement comes out past 24 and 1/8 inches, you’ve crossed the replacement threshold. I’ve used this trick on the side of a fire road with a $3 tape measure from a dollar store. It works.
Here’s why this matters enough to do first: a worn chain has elongated links that ride higher on the cog teeth. Under load — sprinting, climbing, grinding up a false flat at mile 40 — the chain skips because the pitch no longer matches. Even a brand-new cassette will skip immediately with a worn chain. Don’t do what I did.
If the chain measures within spec, skip this expense entirely. The problem lives somewhere else.
How to Adjust Rear Derailleur Cable Tension
This is the fix that resolves most skipping complaints on bikes under three years old. Five minutes. No special tools. Free.
Find the barrel adjuster — it’s the cylindrical fitting where the cable enters the derailleur body or the frame stop, depending on your bike. You’ll see a slot running lengthwise. That’s your adjustment point.
First, you should test the current setup — at least if you want a baseline before you start turning things. Shift to the middle of your cassette, somewhere around the 5th or 6th cog on a 10-speed. Spin the pedals by hand and watch the derailleur cage. Wandering chain, hesitant shifts, that slightly grinding feeling? Usually loose cable tension.
Turn the barrel adjuster counterclockwise — outward — in quarter-turn increments. Each quarter-turn adds tension, pulling the cable tighter and nudging the derailleur slightly outward. Hand-pedal after each adjustment. Test across the full cassette range, not just the gear where skipping happens. Big ring, small ring, all of it.
If the derailleur starts binding or the chain refuses to shift inward, you’ve gone too far. Back it off clockwise, one quarter-turn at a time. This is exactly why quarter-turns exist — half-turn adjustments send you past the sweet spot before you realize it.
While you won’t need a full cable replacement for a tension fix, you will need to inspect the housing while you’re in there. Fraying near the barrel adjuster, cracking along the housing, splitting where cable meets derailleur — any of that means the housing is failing, not just slack. That’s a separate job worth about $15 in parts.
I’m apparently someone who ignored cracked housing for six weeks and Shimano 105 cable started unraveling mid-ride while cheaper Jagwire housing on another bike never gave me grief. Learn from what tripped me up. Look at the housing while you’re adjusting.
When the Cassette or Chainring Is the Real Problem
Now assume chain wear checked out fine and cable tension is dialed. Still skipping under load. Time to look at the cassette teeth.
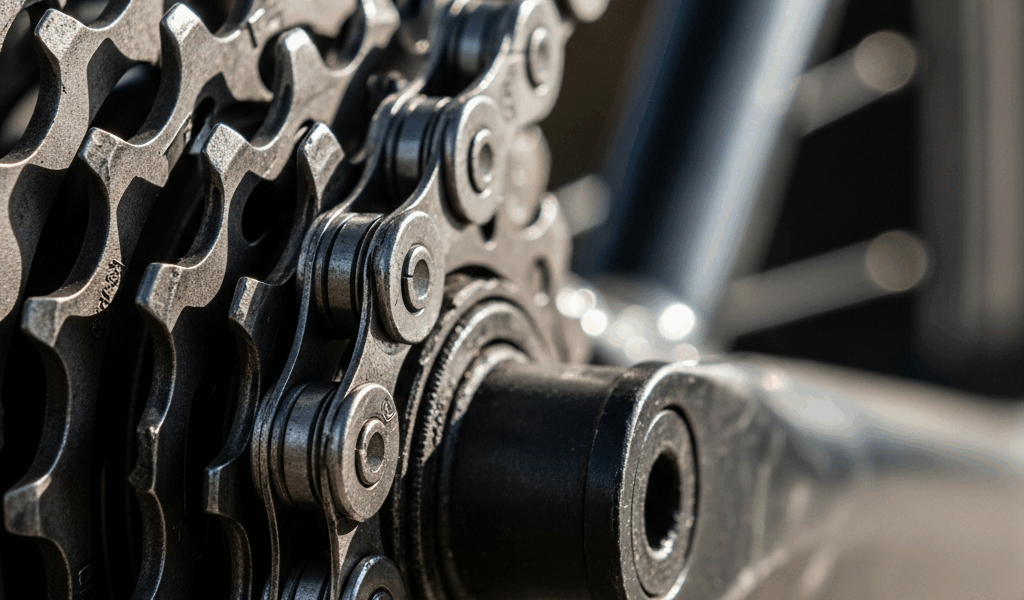
Worn cog teeth develop what mechanics call a “shark fin” profile — the tooth hooks sharply forward instead of sitting in that rounded, symmetrical shape it had new. Pull out your phone, turn on the flashlight, and look at the tooth profile from the side. Compare a suspect cog to a neighboring one you haven’t been hammering in. The difference is obvious once you see it.
Frustrated by a chain that kept skipping on his Sora cassette three years after purchase, a friend of mine installed a brand-new KMC chain using a quick link and a $6 chain tool — and watched the skipping return within four days. New chain pitch, old worn teeth. They don’t match. That’s the trap.
This new-chain-on-worn-cassette problem catches people constantly and eventually evolves into the expensive mistake enthusiasts know and dread today: replacing components twice instead of once.
Cassette replacement requires a chain whip and lockring tool — about $35 combined if you’re buying. The cassette itself runs $40 to $120 depending on the groupset. A Shimano 105 11-speed CS-5800 sits around $65 shipped. An Ultegra equivalent jumps to $110. If tools feel like too much, a shop charges $20–30 labor and handles it in twenty minutes.
Worn chainrings follow the same logic. Skipping primarily in the small ring under hard pedaling almost always points to front-end wear. The teeth lose their grip geometry and the chain slips under load. Same shark-fin profile, same fix — just up front.
Quick Fixes vs When to Take It to a Shop
- Cable tension adjustment — DIY, five minutes, free
- Chain replacement — DIY moderate skill, 15–30 minutes, $30–80 for the chain
- Cassette replacement — DIY if you own the tools, 30–45 minutes, $60–150 in parts
- Bent derailleur hanger — Shop job, $20–40 labor plus a $15–25 replacement hanger
- Cable and housing replacement — DIY moderate, 20–30 minutes, $10–25 for housing and cable together
Most skipping problems resolve cheaply once you’ve identified the actual cause. Cable adjustment costs nothing. A new chain runs $35–50 for a solid mid-range option. Even a full cassette swap stays under $150 for quality parts — less if you’re running a basic groupset.
The expensive scenario is replacing multiple components because you guessed wrong. Chain plus cassette plus chainring adds up fast when only one of them needed replacing. Methodical diagnosis — chain wear first, cable tension second, cassette inspection third — keeps you out of that hole.
One thing worth flagging: bent derailleur hangers. They happen from crashes, from tossing a bike in a car trunk, from that one time the bike fell over in the garage. They’re nearly invisible to casual inspection but create persistent skipping that no adjustment will ever fix. A derailleur hanger alignment tool runs $70–100 and most home mechanics don’t own one — reasonably so. If you’ve worked through every step above and skipping continues, a shop will spot a bent hanger in about thirty seconds. Worth the visit.
Your chain doesn’t have to skip. Start with triage, work in order, and fix what you actually find broken — not what you assume is broken.


Stay in the loop
Get the latest safe cycling zone updates delivered to your inbox.